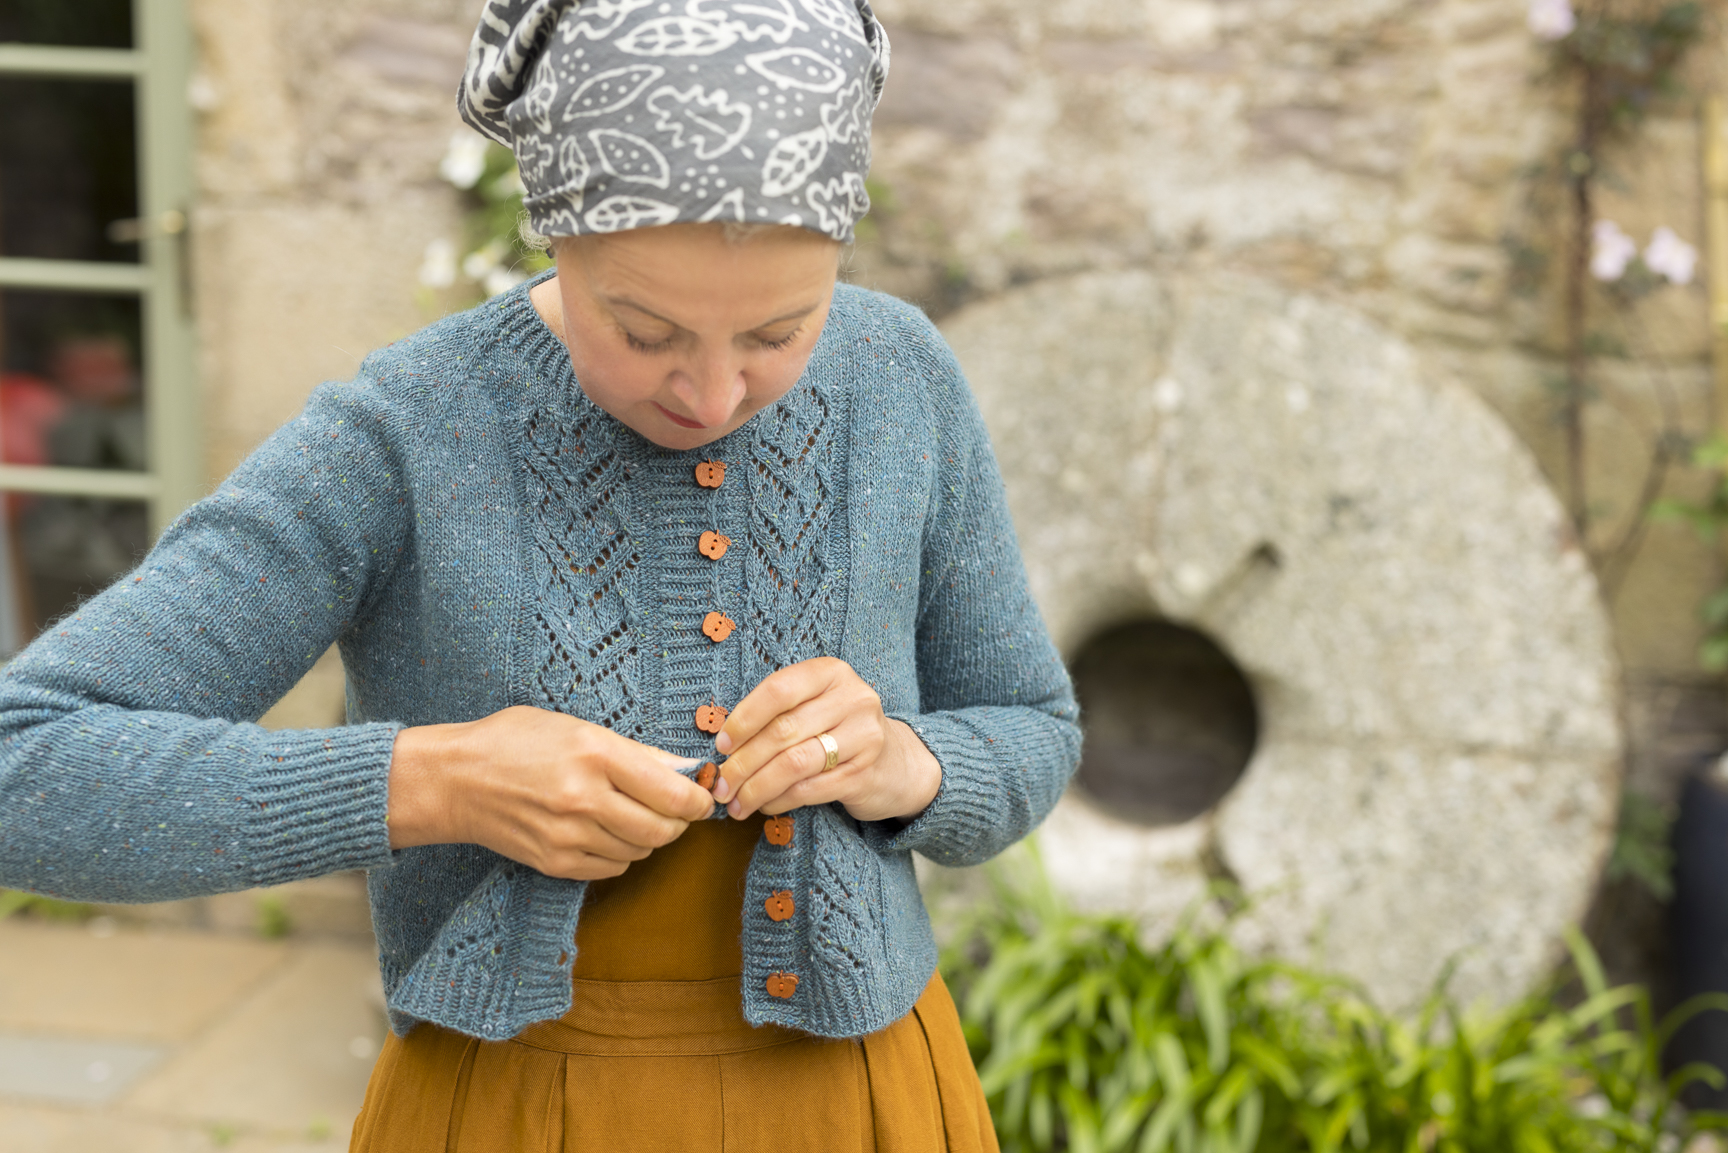
Many Yorlin knitters have completed the bodies of their cardigans, knitted both the sleeves, and are now approaching the garment’s finishing lines – aka its button bands.

I’m going to share a few button-band related thoughts with you today, and I’ll begin with a top tip I learned from the inimitable Hazel Tindall: when picking up stitches on a ribbed band, don’t begin by worrying about the ratio or number you are going to need at the end. Instead, simply pick up 1 stitch for every row along the button band, then, on the following row, decrease these stitches away to ¾ or ⅔ of their total number by p2tog-ing (incorporating your decreases into the rib) as required. This has two benefits: first, the process is much quicker (because you are not continually overthinking your pick-up location and ratio) and second (and more importantly), the transitional edge between the button bands and the body of the cardigan ends up much firmer and neater.

Here’s another picking-up tip, which has always been my practice, and which I only mention because at some point I discovered that many knitters do not routinely do this: rather than picking up by a lifting single strand of the fabric and looping the yarn over it, push the tip of your right-hand needle all the way through to the wrong side of the fabric and loop the yarn around it there. I find the action involved here is almost akin to crocheting, and picking up stitches in this way creates a firm and sturdy button band which is just what’s needed to accommodate the transition between the horizontally-knitted body and its vertically-knitted edges.

This continual emphasis on firmness and neatness might seem odd, coming from the least constitutionally neat person you can imagine, whose general appearance is somewhat feral, whose garden is joyfully untidy, and whose workspace overflows with the happy detritus of many different kinds of creative activity which other people might dismiss as mess. Tom often compares me to the Charlie Brown character, Pig-Pen . . .

. . .which says it all, really. But while my approach to many things (knitting, designing, writing) tends towards the free-flowing and unstructured, I really like to tidy things up at the end and think my near-obsession with neatly-edged button bands comes from exactly the same imposing-order impulse that might lead me to re-structure an unwieldy paragraph or sentence.

Whether your general tendency is towards order or disorder, having neat edges to your cardigan is very important, especially when you are squirrelling away any cut-steek-related rawness.

I used to be very fond of tidying up the raw edges of a steek with a contrasting line of crocheted reinforcement, as well as using a length of stitched-on ribbon to add further structure and firmness to the button bands . . .

But since discovering Gretchen Funk’s felted steek method, I have ditched both the crochet and the ribbon on the band edges, and have not looked back.

On designs like Sterntaucher, Isle Maree and Isle of Ewe, I’ve devised a nifty method of containing the raw steek edges within knitted-in pocket flaps . . .

While on other designs like Denys Martin, you can choose to secure the steek edges by stitching them down neatly to the wrong side of the bands, or alternatively just leave them just as they are (a felted steek being both very sturdy and highly decorative).

But what about the front fastenings? On some older designs – such as Ursula, Deco or Braid Hills – I combined the ribbon-faced band approach with stitched-on buttons and snap fasteners. . .

I’ve also, on occasion, integrated buttonholes into the middle of a picked-up and knitted-on ribbed button band . . .

. . . but for many years, my favourite button band – both to knit and to design – is one with an i-cord edging and integrated buttonholes (like so many of my favourite knitterly techniques, this one is the brainchild of Elizabeth Zimmermann).

EZ’s integrated i-cord band and buttonhole combination is great, whether it is worked adjacent to a colourwork steek, as in designs like Tioraidh or Powdermill . . .

. . . or a simple 2×2 ribbed band, as is the case with Evendoon.

Why do I love i-cord buttonholes and bands so much? Let me count the ways.

First, you don’t have to put holes in your ribbing. I have found no way that satisfies me of creating a neat yarnover buttonhole in a ribbed band, and the i-cord buttonhole eliminates this problem. The neat loops created with this method sit unobtrusively and (at smaller gauges) completely invisibly at the band edge, ready to fasten-up whenever needed.

Second, you can place an i-cord buttonhole anywhere on the band. You don’t have to insert an i-cord buttonhole at particular points in the ribbing, and nor do you need particular stitches (knits or purls) in which to insert them. Want to place buttonholes closer together at a band’s top or bottom edges? Prefer more or fewer buttonholes than a pattern specifies? With i-cord buttonholes, you can pop one in wherever you like!

Third, an i-cord buttonhole looks great at any gauge. Whether worked at 7 stitches to the inch, as they are on Tonnach . . .

or 3 stitches to the inch, as with the Carbeth cardigan . . .

. . . an i-cord edging with integrated buttonholes will lend an appearance to your buttonbands which is always neat and deeply satisfying.

It will come as no surprise, then, that I used i-cord edges and integrated buttonholes for the front bands of Yorlin, as I’ve done with so many other cardigans.

. . . but if you don’t like this technique, feel free to use your preferred method to finish off your front bands.

Do you have a different favourite method of inserting buttonholes? Do you have any picking-up or knitting-on band-related tips to share? Tell me!


Leave a Reply