
As you know, I photographed my Moder Dy design on a beautiful vintage hap stretcher that I borrowed from my friend Anne Eunson. In Shetland, such stretchers have been used for well over a century to block haps and shawls ready for sale, as well as for their knitters’ own domestic use.

(washing and dressing Shetland haps in the early 1900s)
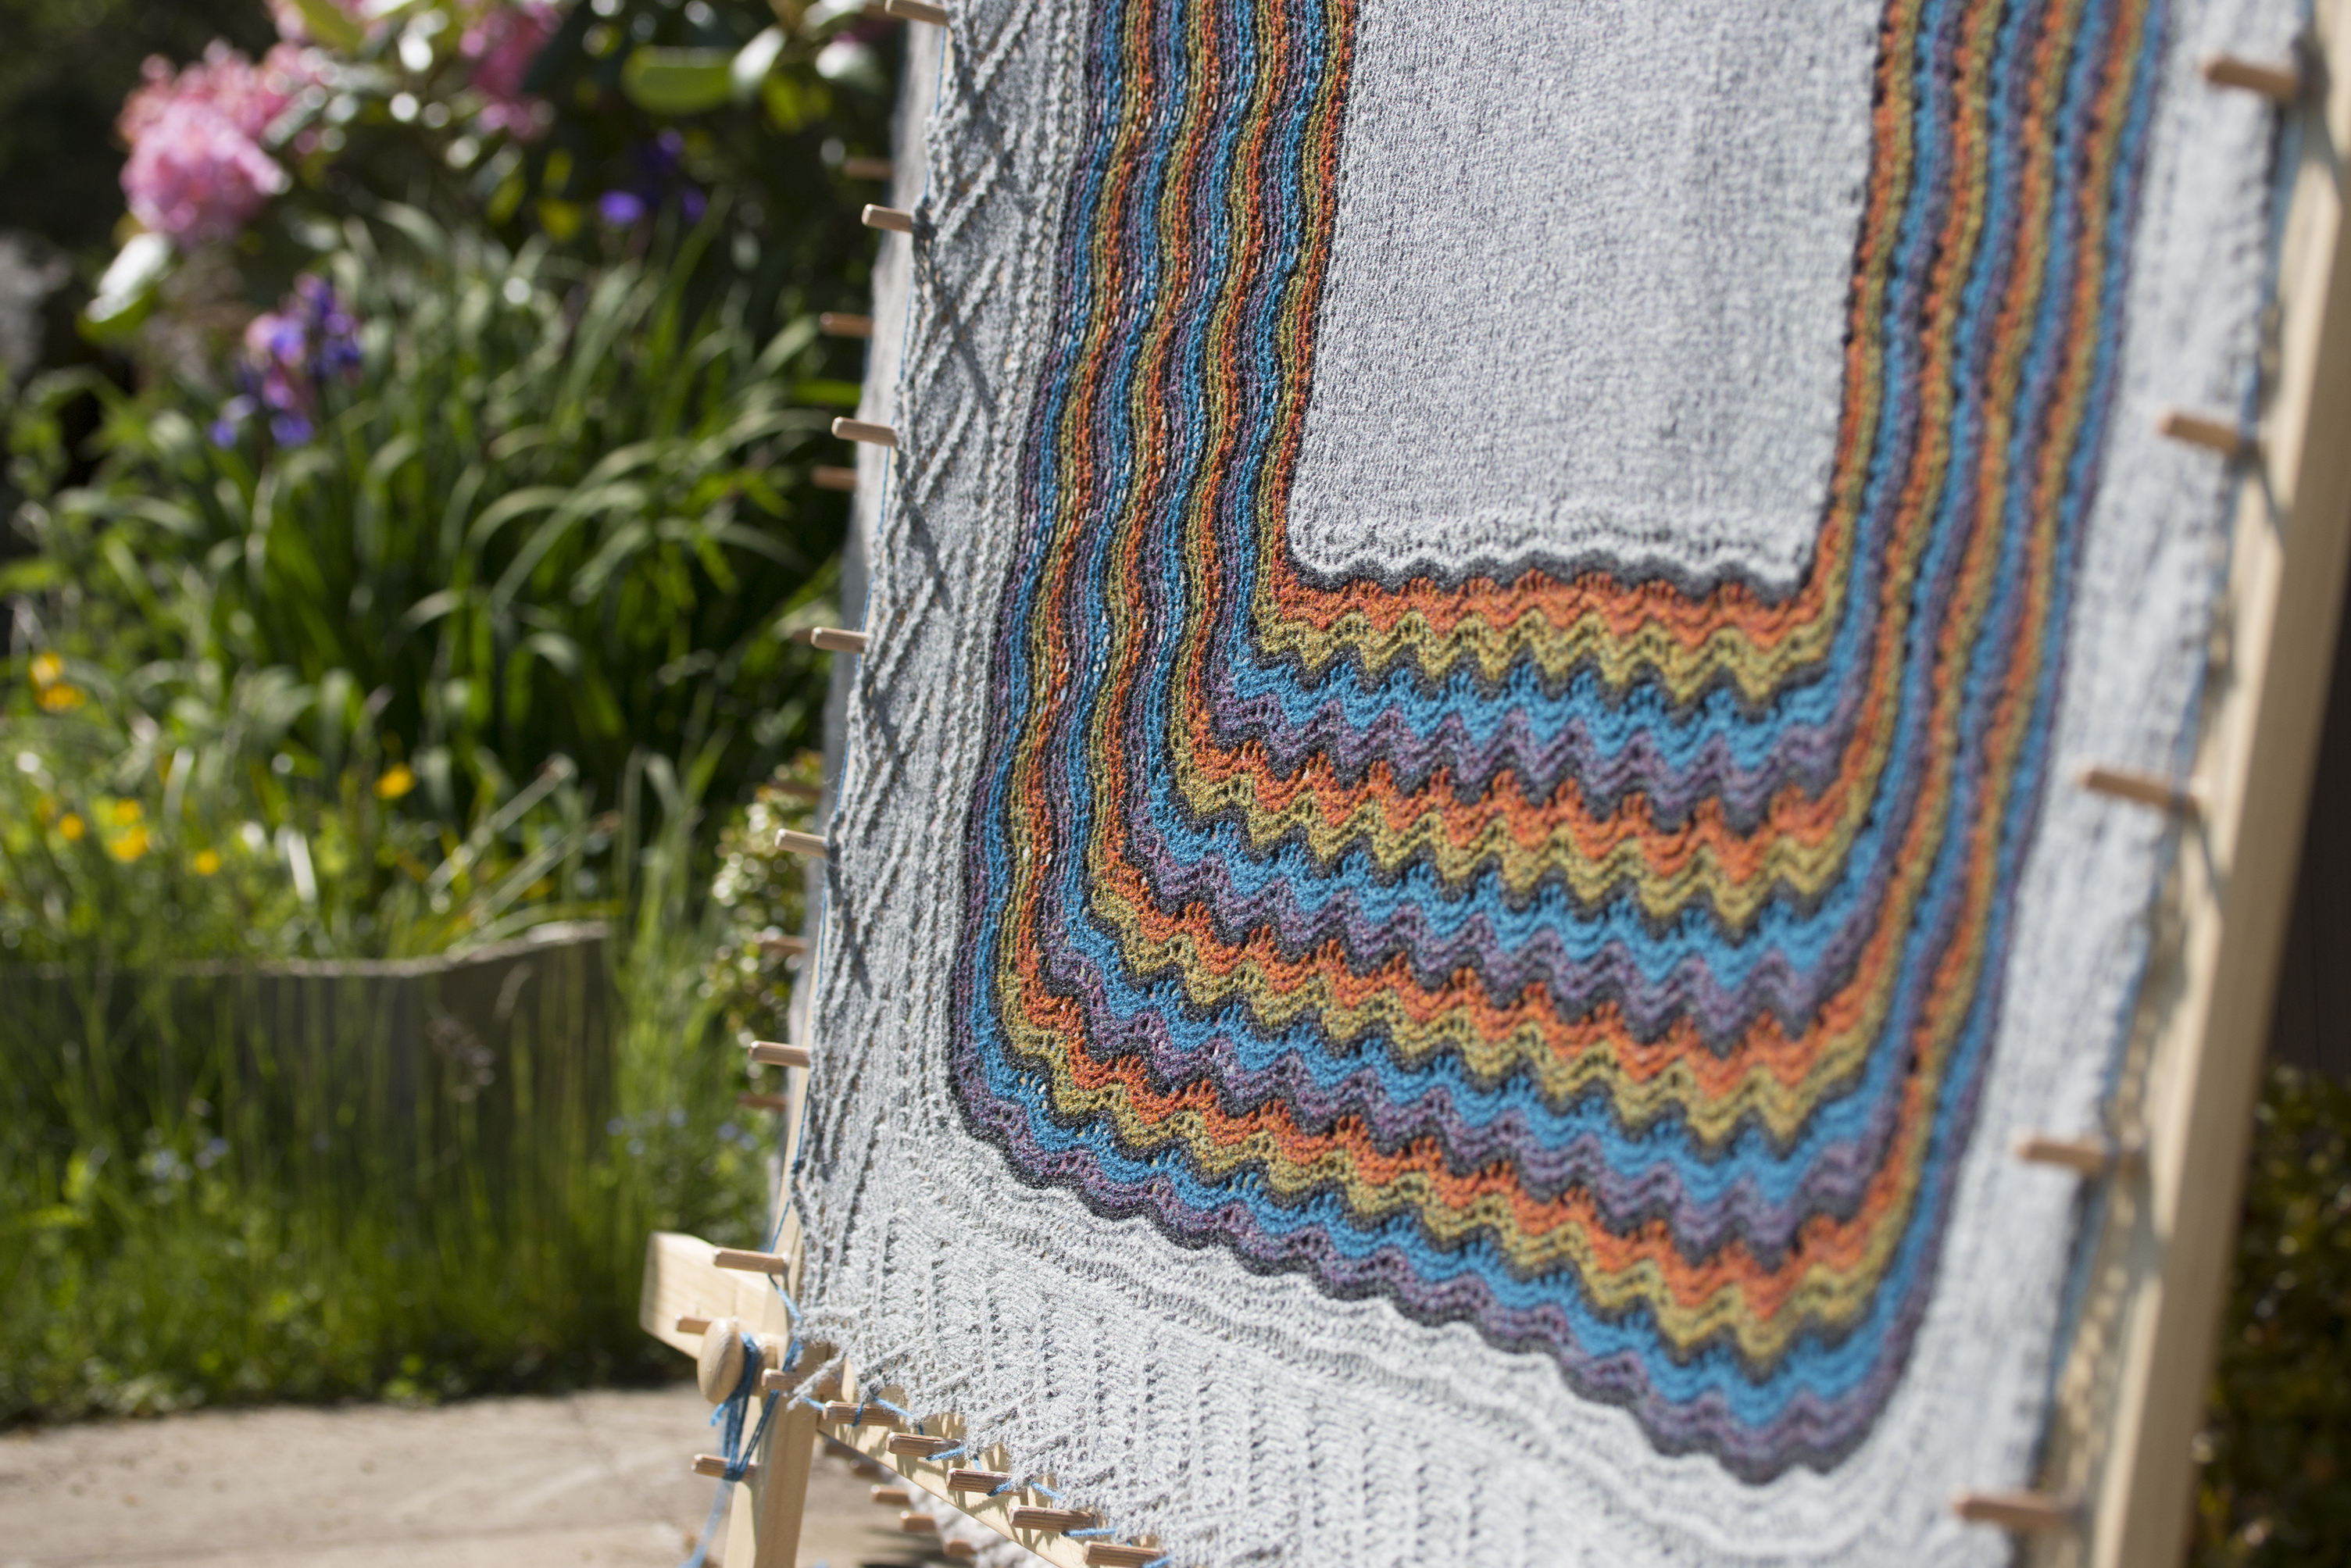
These stretchers are a really efficient way of stretching and shaping a hap or shawl. Strong yarn is threaded through each point of the lace edging, and this yarn is secured and tensioned over the dowels or hooks along each side of the stretcher. The hap is blocked to its required dimensions, and the finished fabric is beautifully even. In this image, you can see how each stretcher might be used to block several haps at once.

Shetland knitters knew what they were doing, and these stretchers are a brilliant (and very space efficient) way of blocking. In good weather, a hap-laden frame can be taken outside to dry vertically, and, after use, the frame deconstructs into its four component lengths, which might easily be stored under a bed. Also – I’ve not tried this, but I think these stretchers would also be a great way of blocking a triangular shawl, as well as a square hap. Lace points could be similarly strung up and drawn over the dowels, while a blocking wire might stabilise the long straight edge.

I recently asked Tom to build me a hap stretcher – which he kindly did – and he’s written up a tutorial for you here. The second hap you see in the photographs below is another Moder Dy sample that Mel recently knitted from Jamieson and Smith jumper weight. Simply adjusting the yarn-weight creates a much smaller hap! These instructions are for an adjustable hap stretcher, with a stretch area of 108cm x 108cm to 162cm x 162cm . If you want a larger (or smaller) stretch area, adjust the spacing of the joining points / holes outlined in steps 2. to 4.
Tom’s Hap stretcher tutorial

You will need:
Materials
4 lengths of timber (planed spruce, 18mm x 45mm x 1800mm)
72 wooden dowels (M8 x 40mm)
4 wooden ring handles (M4 x35mm)
4 machine screws (M4 x 50mm)
4 repair washers (M4 x19mm)
wood glue
varnish
sand paper (fine grade, 240 grit)
Equipment
sanding block or power sander
drill with 4mm and 8mm wood drill bits
tape measure or steel rule
pencil
set square (optional)
drill bit stop collar (optional)
dust mask (if using a power sander)
A HAP!
Schematic (click to enlarge)

Instructions

1. Sanding
Start by sanding the four lengths of timber until smooth (to ensure there are no rogue splinters which might damage your hap).

2. Draw joining holes
Using a steel rule, measure 90mm from the end of the timber and draw a vertical line lightly with the pencil. At the midpoint of this line (22.5mm) draw a cross. (This marks the first drill point for the joining holes which will be used to connect the 4 sections of the hap stretcher). Draw 3 further marks at 90mm intervals along the timber, until you have four marks.

3. Repeat
Repeat this process at the opposite end of the timber length, similarly making four marks at 90mm intervals, at the midpoint (22.5mm) of the timber.

Mark out these joining-hole positions on the other 3 lengths of timber in the same way.

4. Drill joining holes
Secure the timber on a sturdy table or worktop. Using a 4mm wood drill bit, drill through the timber completely, at each of the marks you have made (8 on each length of timber). Ensure the drill is perpendicular to the timber when drilling.

5. Draw pilot holes
Using a steel rule, measure 45mm from the centre of the first joining hole (i.e. 135mm from the end of the timber) and draw a vertical line lightly with the pencil. At the midpoint of this line (22.5mm) draw a cross. (This marks the first drill point for the pilot holes into which wooden dowels will later be inserted). Draw 17 further marks at 90mm intervals along the timber, until you have 18 marks.

Repeat this process for the other 3 lengths of timber.

6. Drill pilot holes
Secure the timber on a sturdy table or worktop. Using a 4mm wood drill bit, drill a pilot hole 3-5mm deep. Do not drill through the timber completely. Ensure the drill is perpendicular to the timber when drilling.
Repeat for the other 3 lengths of timber. You will now have 72 pilot holes at 90mm intervals (18 in each length of timber).

7. Fit stop collar
If you have one, fit a stop collar to an 8mm wood drill bit. The collar should be fitted 10mm from the end of the bit. If you don’t have a stop collar, yarn or wire wrapped around the drill bit can be used as a visual guide to prevent drilling completely through the timber. Wrap the wire clockwise around the drill to prevent unwinding.

8. Drill dowel holes.
With the timber secured, drill each of the pilot holes with the 8mm drill bit to a depth of 10mm. Do not drill the 4 joining holes used for connecting timber lengths. Do not drill through the timber.
Repeat for the other 3 lengths of timber. You now have 18 dowel holes per timber length (72 total).

9. Sanding
Lightly sand the timber again to remove pencil marks and splinters from drill holes.

10. Glueing
Apply a small amount of wood glue to the end of a wooden dowel and insert it into the first dowel hole. Wipe away any excess glue.

Repeat 71 times! Leave the glue to set overnight.

11. Varnishing
Apply varnish and leave to dry entirely.


12. Assembly
Put a machine screw through a washer at the back of the stretcher and screw on a wooden handle. Repeat at the other 3 corners ensuring the timber lengths do not cross (i.e. the top timber is behind the two side-lengths at both the top and bottom join of the square). Ensure the frame is square by placing against a wall then tighten the four handles.


13. Adjust the sizing, string up your hap, and pop it on your stretcher!

14. TA DA!

15. Use and enjoy your hap stretcher.

You will see more beautiful images of Shetland hap dressing in the Book of Haps!
Leave a Reply to Gloria S Anton Cancel reply